
















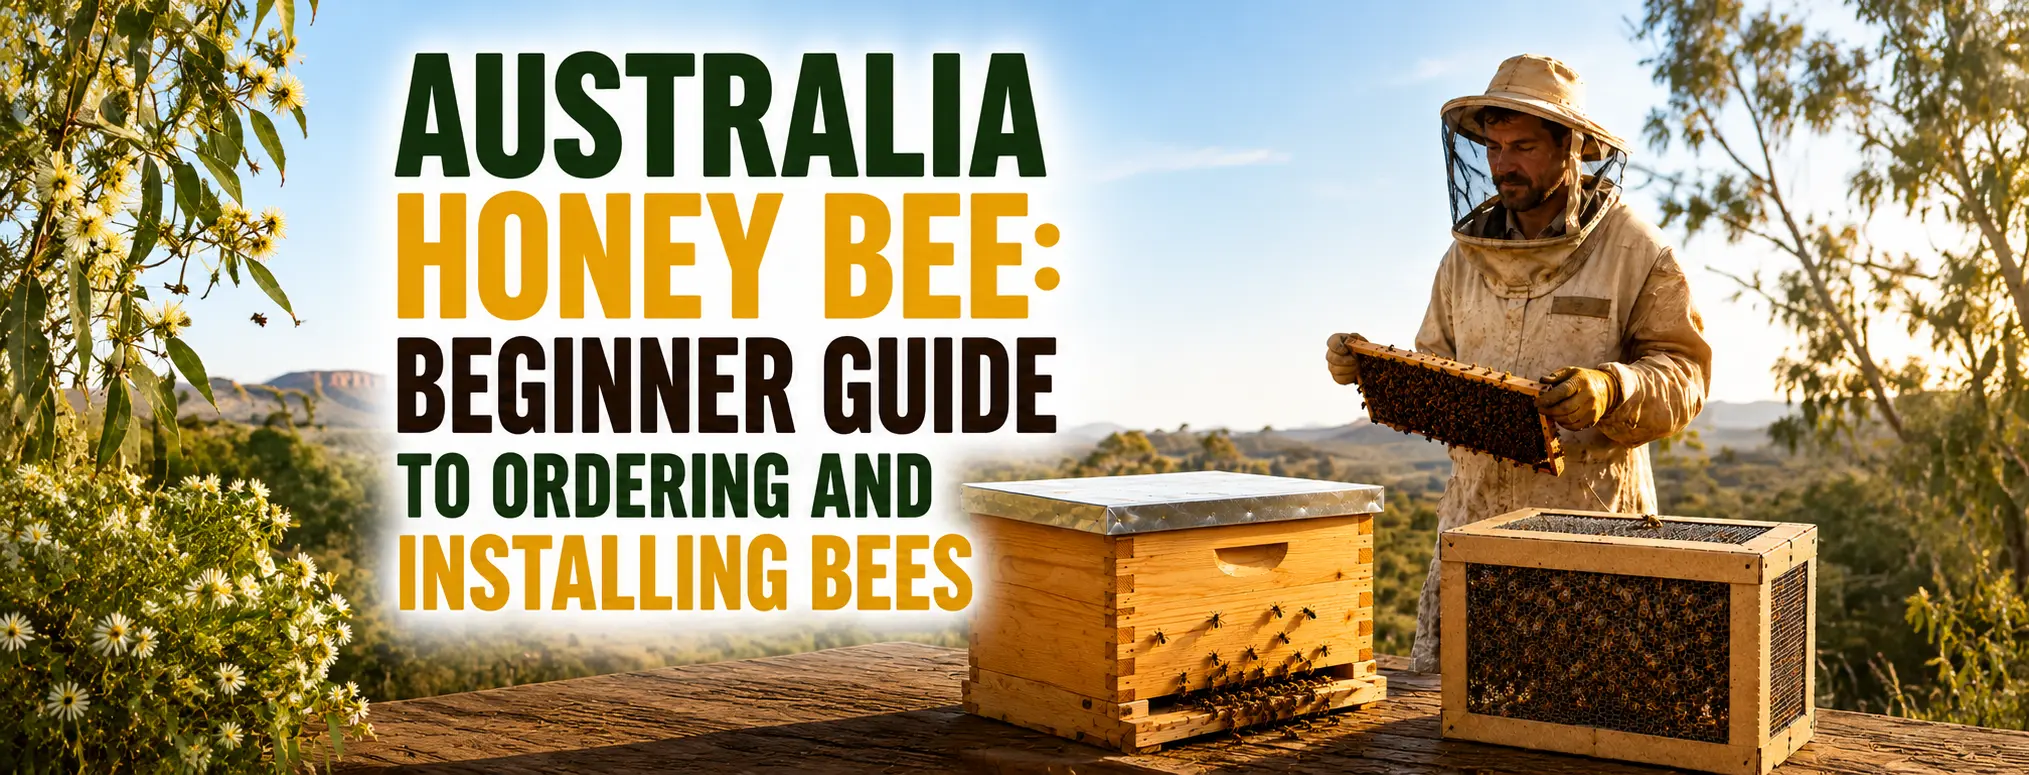
Australia Honey Bee: Beginner Guide to Ordering and Installing Bees
Author: Hornsby Beekeeping Date Posted:13 July 2026
Starting with australia honey bee colonies is an exciting step for any new beekeeper. However, bees should never be ordered before your hive, equipment and site are ready. A honey bee colony is a living system, so it needs careful handling, regular inspections and good seasonal care from the beginning.
For most Australian beginners, a nucleus colony, often called a nuc, is one of the easiest ways to start. A nuc usually includes a queen, worker bees, brood, pollen and food stores. Because it is already a small working colony, it gives beginners a more stable start than package bees or unmanaged swarms.
What to Know Before Ordering Bees
Before ordering australia honey bee colonies, make sure you understand your responsibilities. In Australia, beekeepers may need to register depending on their state or territory, and biosecurity records are also important for responsible hive management.
In addition, check your hive site. Bees need a stable, dry location with access to water and a safe flight path. If you are keeping bees in a backyard, think about neighbours, pets, walkways and shade during hot weather.
Before ordering, check:
-
Hive equipment is assembled
-
Frames match your bee source
-
Protective clothing is ready
-
Smoker and hive tool are available
-
Water source is nearby
-
Local rules are understood
-
Supplier is trusted
-
You can inspect regularly
Most importantly, do not order bees only because they are available. Order them when you are prepared to care for them properly.
Best Season to Start
Spring is usually the best season to start with australia honey bee colonies in many regions. During spring, nectar and pollen are often more available, colonies build naturally and the weather is generally better for inspections.
Early summer may also work in some areas, especially if local flowering is strong. However, starting too late can make it harder for a colony to build enough stores before winter or seasonal stress.
A good starting time usually has:
-
Mild weather
-
Active flowering
-
Available nectar and pollen
-
Healthy nucs from suppliers
-
Enough time before winter
-
Safe conditions for inspections
Because Australian climates vary, local advice is useful. A beekeeper in Queensland may work on a different seasonal pattern from one in Victoria, Tasmania or inland New South Wales.
Equipment Needed Before Bees Arrive
Your hive should be ready before the bees arrive. This makes installation calmer and reduces stress for the colony. In addition, having the right tools nearby helps you avoid rushing.
Prepare:
-
Hive base
-
Brood box
-
Frames and foundation
-
Hive lid
-
Hive stand
-
Entrance reducer
-
Feeder
-
Bee suit or jacket
-
Gloves and veil
-
Smoker
-
Hive tool
-
Water source
-
Record book
It is also helpful to keep spare frames or an extra box ready. If the colony grows quickly, you will not need to delay important hive management.
Preparing the Hive Site
A good site helps bees settle. Choose a level, well-drained location with morning sun where possible. Meanwhile, in very hot regions, some afternoon shade may help reduce heat stress.
The hive should be easy for you to inspect but not placed where bees fly directly across busy paths. If needed, a fence or screen can encourage bees to fly upward.
A suitable hive site should have:
-
Stable hive stand
-
Good drainage
-
Morning sun
-
Airflow
-
Water nearby
-
Safe access
-
Clear flight path
-
Protection from strong wind
Once the hive is positioned, avoid moving it unnecessarily. Bees quickly learn their location.
How to Install a Nucleus Colony
Install the nuc on a calm, mild day if possible. Wear your protective clothing, light the smoker and work slowly. However, avoid heavy smoke because the colony needs to settle.
Move each frame from the nuc box into the brood box in the same order. Keep brood frames together in the centre and place food frames beside them. Then add empty frames to complete the box.
Basic steps:
- Place the hive in its final position.
- Open the nuc gently.
- Move frames one at a time.
- Keep the brood nest together.
- Avoid crushing the queen.
- Add empty frames.
- Close the hive carefully.
- Reduce the entrance if needed.
- Let the colony settle.
After installation, avoid opening the hive every day. Too much disturbance can slow progress.
Caring for Bees After Installation
The first week should be calm and simple. Watch the entrance for normal flight activity and pollen coming into the hive. Pollen is often a good sign that the colony is caring for brood.
Your first inspection should confirm that the bees are settling, food stores are present and the queen is laying. If you do not see the queen, look for eggs or young larvae instead.
Good early care includes:
-
Checking food stores
-
Watching queen activity
-
Monitoring brood pattern
-
Providing water
-
Managing pests
-
Avoiding excess hive space
-
Feeding only when needed
-
Keeping inspection records
As the colony grows, add space only when bees are ready to use it. Too much space too early can make pest control harder.
Common Beginner Mistakes
New beekeepers often make mistakes because they are excited or underprepared. Fortunately, most problems can be avoided with planning and patience.
Avoid:
-
Ordering bees before equipment is ready
-
Using mismatched frame sizes
-
Installing bees in poor weather
-
Opening the hive too often
-
Adding too much space too early
-
Forgetting water access
-
Ignoring pest checks
-
Over-smoking the colony
-
Not keeping records
A calm, prepared approach gives your first colony a much better start.
Final Thoughts
Starting with australia honey bee colonies is easier when you prepare before the bees arrive. Choose a trusted supplier, set up your hive correctly and install the colony gently. After that, focus on food stores, queen activity, brood health and pest monitoring.
With the right equipment and steady care, your first colony can grow into a strong and productive hive.
If you need swarm collection equipment, nucleus boxes, protective clothing, or expert beekeeping advice, Hornsby Beekeeping Supplies is here to help. Contact our experienced team on 02 9477 5569 or email info@hornsby-beekeeping.com for trusted products and practical beekeeping support across Australia.
FAQs
What should I know before ordering or handling australia honey bee?
Before ordering or handling australia honey bee colonies, make sure your hive is ready, your equipment is prepared and you understand local beekeeping rules. You should also buy from a trusted supplier and wear proper protective clothing.
When is the best season to start with australia honey bee?
Spring is usually the best season to start with australia honey bee colonies in many Australian regions. Early summer may also work if nectar, pollen and mild weather are available.
How do I install or introduce australia honey bee into a hive?
To install a nuc, move the frames into the brood box in the same order, keeping brood frames together in the centre. Work gently, avoid crushing the queen and allow the bees time to settle.
What equipment do I need before receiving australia honey bee?
You need a hive base, brood box, frames, lid, hive stand, feeder, entrance reducer, protective clothing, smoker, hive tool, water source and record-keeping system.
How can I keep australia honey bee healthy after installation?
Keep bees healthy by checking food stores, queen activity, brood pattern, water access and pests. Inspect regularly, but avoid disturbing the colony too often during the first week.